![]()
Data backup is one of the most important things when you regularly work on PC. Windows 7 offers its own backup function called Backup and Restore, but a lot of users are not familiar with it and do not use it at all.
Windows Backup and Restore utility is able to perform scheduled, complete backup of selected files (or all files) and restore them if needed.
In this small tutorial we will show you, how to set up scheduled backup of your files in Windows 7.
How to setup a scheduled backup plan in Windows 7
You can access Backup and Restore utility several ways, but the easiest one is probably through Start → Control Panels → Backup and Restore control panel, or alternatively Start → All Programs → Maintenance → Backup and Restore.
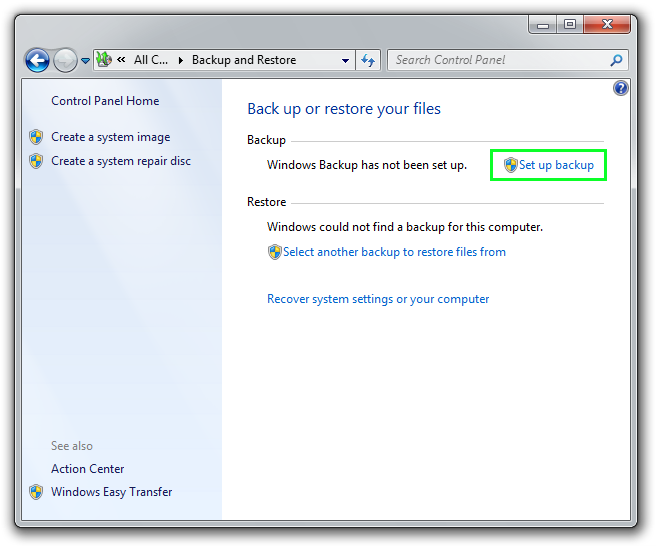
Anyway, if you have never used the Backup and Restore utility before, it will Backup and Restore control panel will open window that looks exactly the same like you can see on the screenshot below.
To setup a backup plan, click on Set up backup (you will require administrative rights for it).
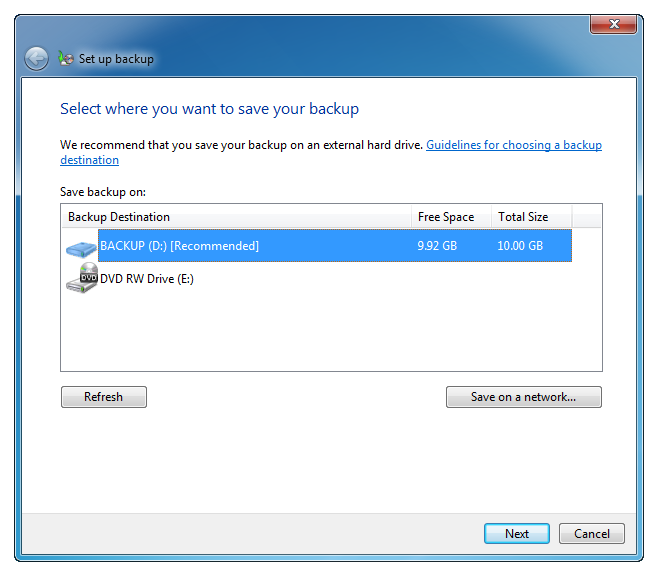
Step 1 - select where you want to save your backup
In next window you will be prompted to choose destination for your backups. This is the disk partition where your backup will be saved. Select your destination (in our case D: drive) and proceed with clicking on the Next button.
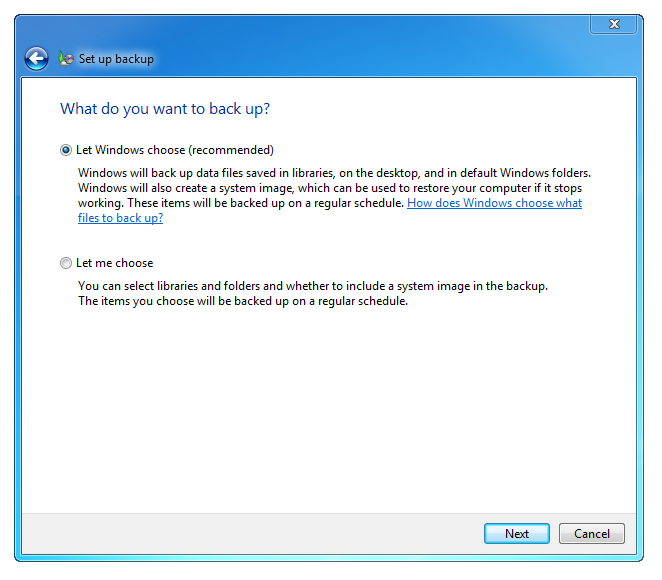
Step 2 - Chose which files you want to backup
In next step, Windows will ask you which files you want to backup. If you are not experienced PC user, select the recommended option and Backup and Restore utility will backup everything and even create system image.
Experienced users might prefer to backup only certain files, like documents.
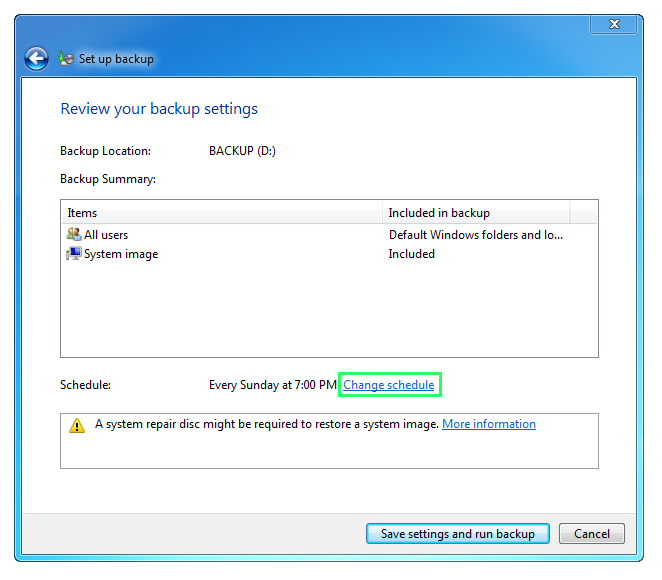
Step 3 - Set schedule and review your settings
After this you will be prompted to review your changes and change schedule for automatic backups if needed. The default backup plan is set to every Sunday at 7:00, but if you want to change it frequency or time, you have to click on Change Schedule.
Step 4 - Run the Backup!
If you click on the Change schedule, a new window will appear when you can change the frequency of Backup and Restore utility.
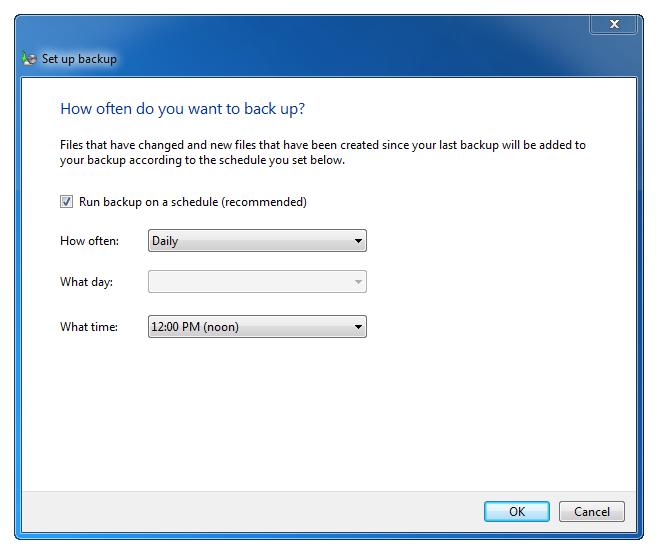
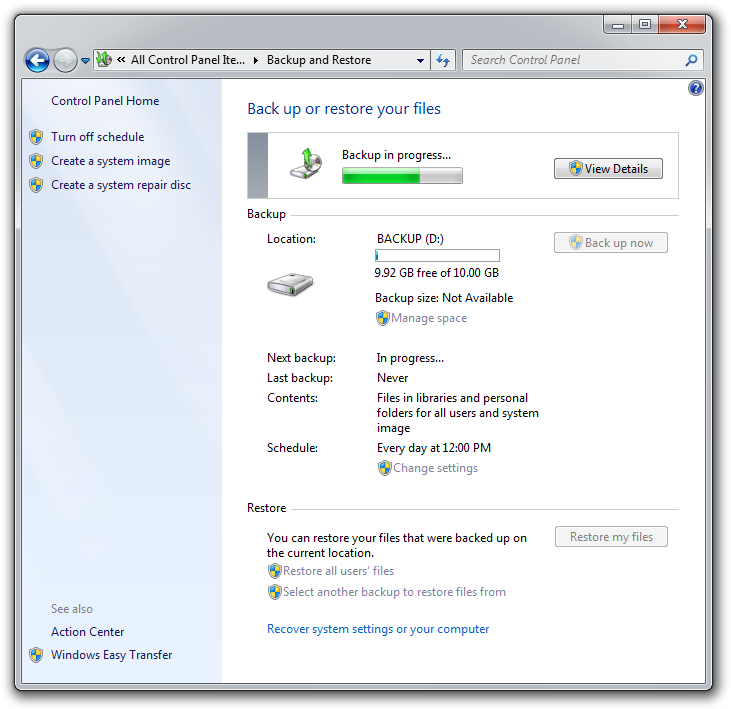
For testing purposes we changed the settings for daily backups to noon time. After you click OK you will be back in the previous screen. To continue press on the Save settings and run backup.
The system will now start to perform its first backup.
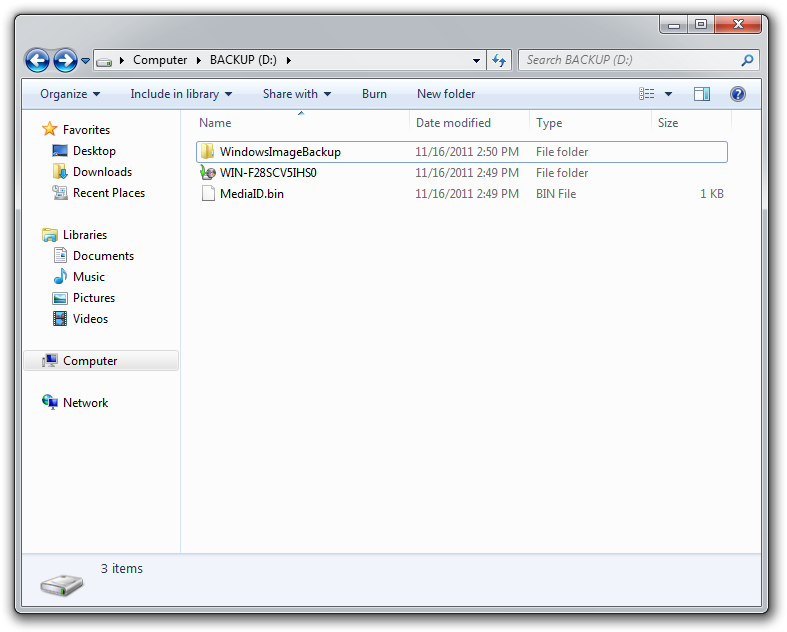
When created, the actual backup is saved in data structure which looks similar to this. The special folder with unique icon has the name of your computer.
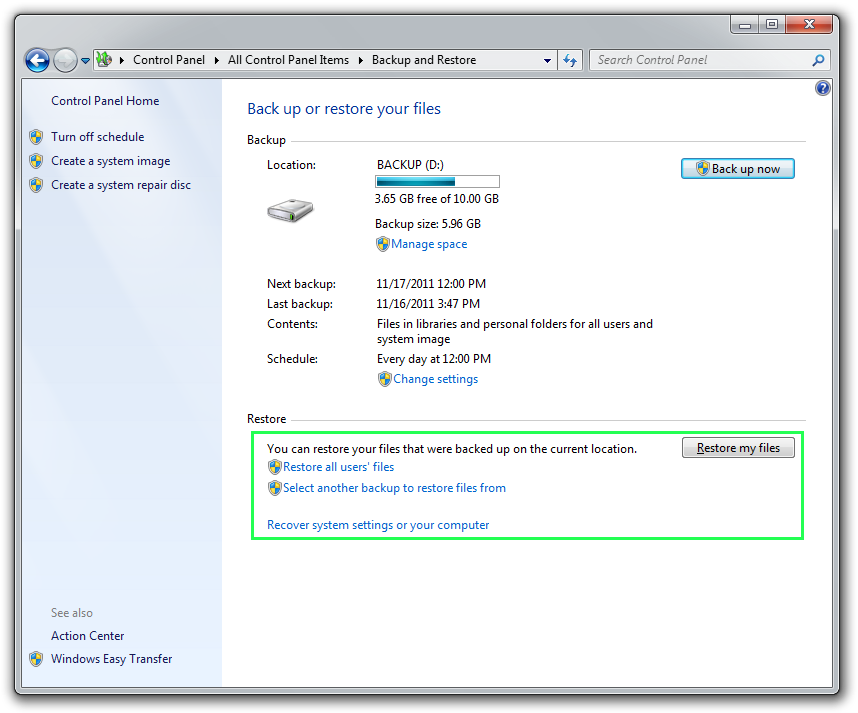
Step 5 - Restore function
And that's it. Now you can use the Restore functions of Backup and Restore to restore individual files or even all from your created backups if needed.
There is also a search function inside Restore, with which you can find even one exact file and restore it to previous point, if you for example accidently deleted it. You can restore it to either its original location or completely new one.