Open ISO file in Windows
Microsoft Windows 8 has integrated features to open and manage ISO disk images in Windows Explorer. You simply double click on .iso file and system will mount it as virtual optical drive and view its content. In older Windows versions, you enable these features by using third-party optical drive emulators, for example Daemon Tools.
However, Microsoft has released a freeware software called Virtual CD-ROM Control Panel that integrates ISO disk management to older versions of Windows.
Virtual CD-ROM Control Panel
Microsoft Virtual CD-ROM Control Panel is available to download on Microsoft's website.
Supported Windows: Windows XP, Windows Vista, Windows 7, Windows Server 2003, Windows Server 2008, Windows Server 2008 R2.
Virtual CDRom Control Panel
Install Virtual CD-ROM Control Panel
It is a tiny self-extracting ZIP archive that contains virtual CD-ROM driver, settings utility and short instructions. Unpack archive to any directory.
Directory content:
- readme.txt
- VcdControlTool.exe
- VcdRom.sys
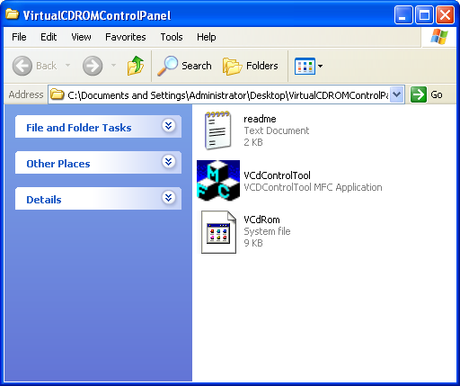
Virtual CDRom installation package content
Disk images support: CDFS Image (*.cdfs), ISO disk images (*.iso), UDF Images (*.udf)
Mount ISO disk image in Virtual CDRom Control Panel
Open the directory and copy VcdRom.sys driver (Ctrl+C) to Windows\System32\ directory (Ctrl+V) stored on system drive.
Start VcdControlTool.exe with administration rights (click by right mouse button on app and select Run as Administrator).
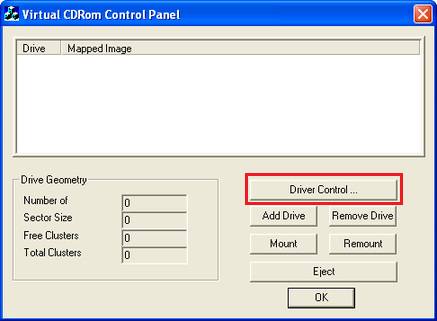
Virtual CDRom Control Panel Driver Control
Click on Driver Control... button → Install Driver... button
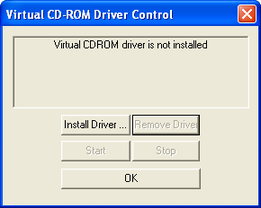
Virtual CD-ROM driver installation
Select Windows\System32\VcdRom.sys file → click on Start button and after that OK Button.
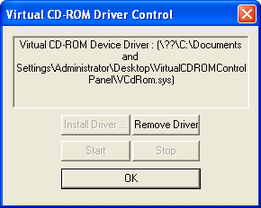
Virtual CD-ROM Start driver
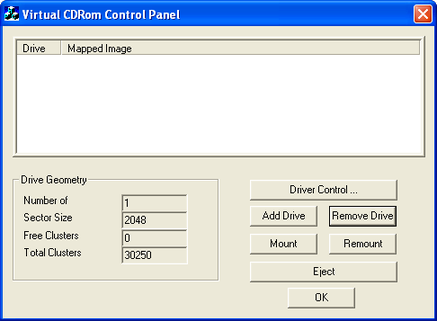
Click on Add Drive button and after that on Mount button → select .iso file and click on Open button.
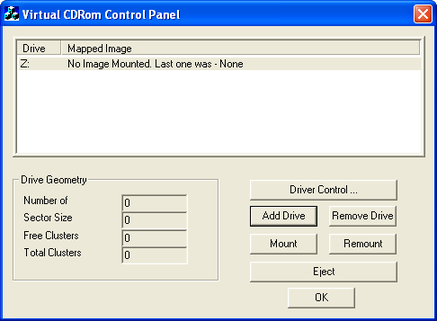
Virtual CDRom Control Panel mount .iso file
You can select other special mount options and after that click on OK button.
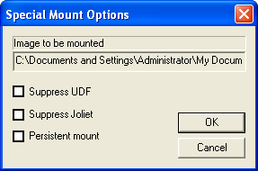
Mount options
Now the .iso file is mounted to virtual CD-ROM drive and you are able to install software, or copy data from it.
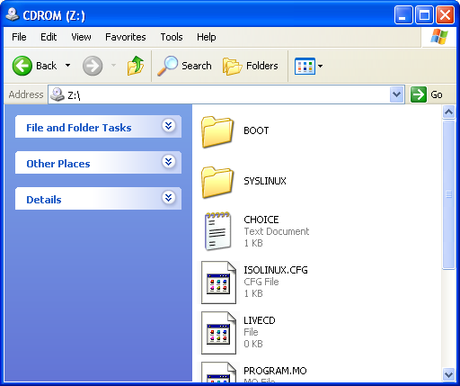
Content of the .iso file
To change .iso file in virtual drive open Virtual CDRom Control Panel → click on Mount button and select another .iso (or other supported disk image file formats).

