
 Language
![]() SSD (solid-state drive) flash data storage devices allows rapid increase of computer speed. Because SSD is completely different technology than conventional hard drives, developers of operating systems must integrate some new management features for these data mediums in their products.
SSD (solid-state drive) flash data storage devices allows rapid increase of computer speed. Because SSD is completely different technology than conventional hard drives, developers of operating systems must integrate some new management features for these data mediums in their products.
The first generation of SSD drives have problems with reduction of speed after prolonged using and do not support TRIM.
The solution is called TRIM command. To ensure proper operation of SSD drive and its durability, it must be supported by operating system as well as SSD drive.
What is the TRIM command?
TRIM is a command that is executed in the background by the operating system when you delete files. It is informing the SSD disk that the blocks are no longer used and can be deleted. By doing this, the SSD can avoid slowing down future write operations to those blocks. It is supported by Microsoft Windows 7, Windows 8, Apple Mac OS X and Linux operating systems. SSDs support TRIM command from 2nd generation.
There is one limitation in Mac OS X. The TRIM is enabled only for SSD delivered by Apple. If you bought SSD from other vendor, like Kingston, Corsair, Crucial etc. and install it to your Mac, OS X will not activate TRIM feature.
How to check TRIM support of your SSD drive in Mac OS X
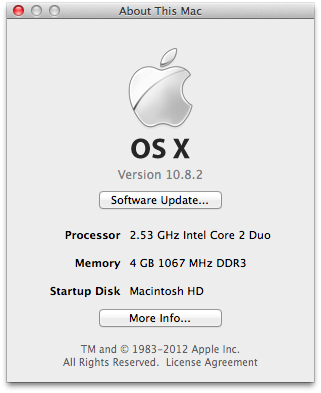
To check TRIM function in Mac OS X click on Apple logo in upper main menu (top left corner). Select About this Mac option.

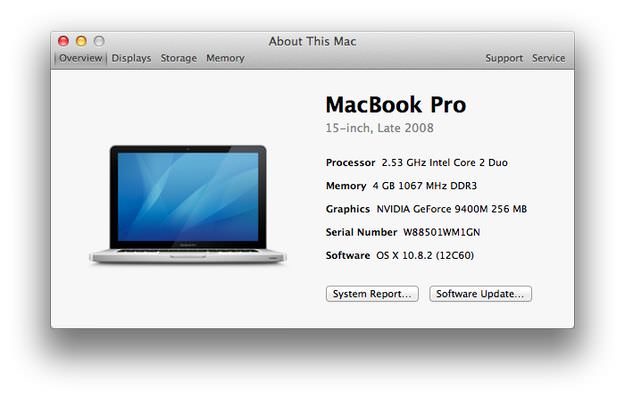
Click on More Info... button.
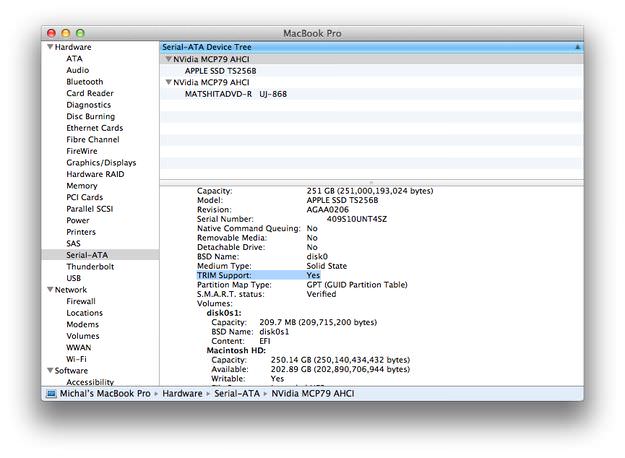
Click on System Report... button.
Click on Serial-ATA option and check the Trim Support information.
If the TRIM support is disabled, it is not problem to enable it, but it can not be done without third-party utility.
How to solve disabled TRIM command in Mac OS X
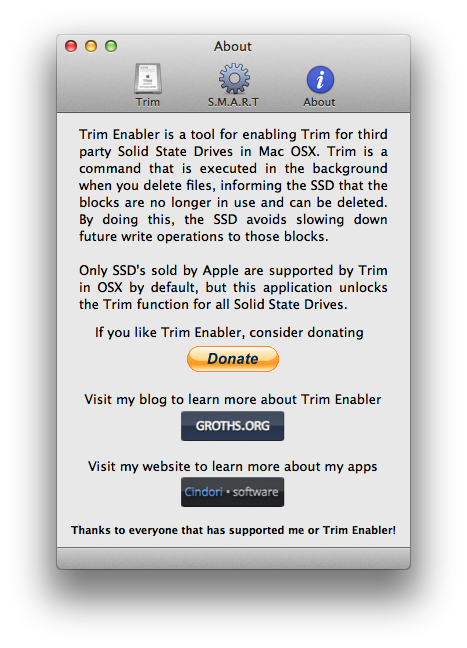
Download the utility called Trim Enabler. It is a simple tool that allows you to patch OS X kernel and enable TRIM for third party Solid State Drives. Trim Enabler can also analyze your drive and show information about it’s health and show lifetime statistics.
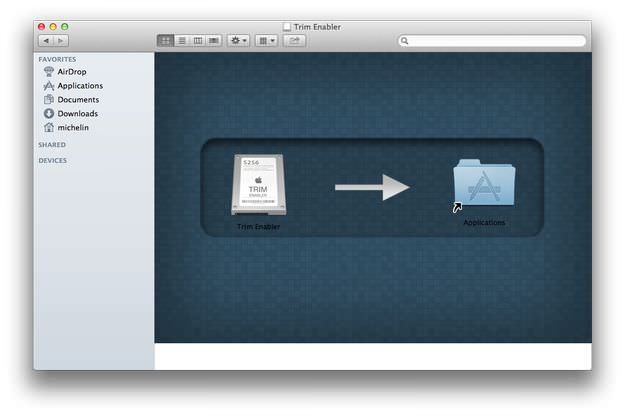
It is distributed in Mac OS X .dmg application installation package. Open it and copy Trim Enabler.app to Applications folder.
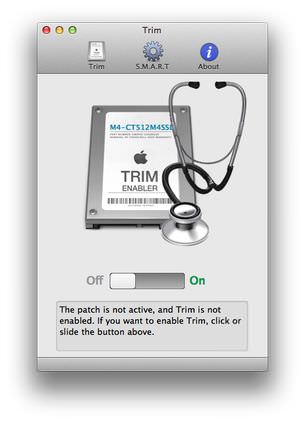
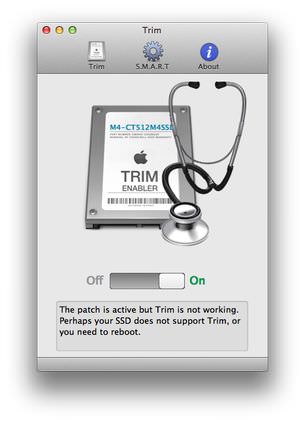
Start the Trim Enabler and click on TRIM icon in tab menu. You will see an information about disabled/enabled TRIM command. If it is disabled flip the switch to enable this option.
Close the Trim Enabler and restart your Mac. Now the TRIM command is enabled.
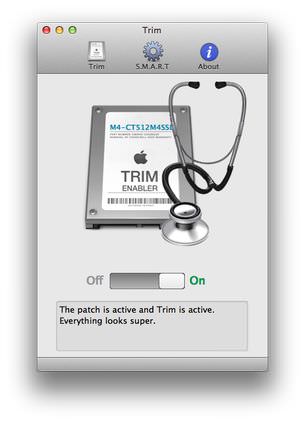
You can also check a condition of your SSD drive, by click on S.M.A.R.T. icon in upper tab menu.
