
 Language
Related extensions:
Fonts are one of the ways how you can personalize and customize your documents, presentations and other content. You get some fonts with default installation of OS X and even some apps, but you can of course add more.
There exist several ways how you can to install new fonts to Mac OS X operating system and in this short article we will discuss some of them.
Installing fonts through Font Book
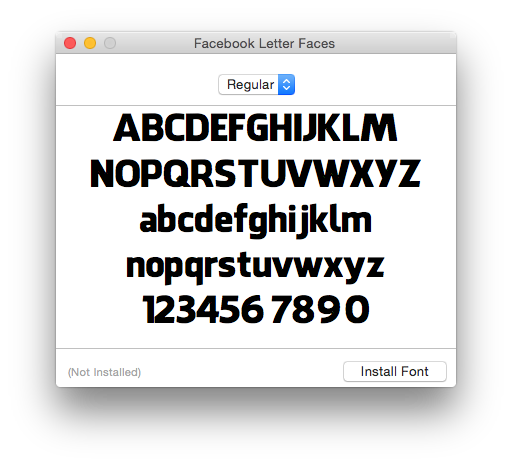
The first and most likely easiest way would be just to double-click on a font file (for example .otf) and Mac OS X will start an app called Font Book that will show you the font preview with Install Font option that will install and add it to your system.
Installing fonts by copying them to Fonts folder
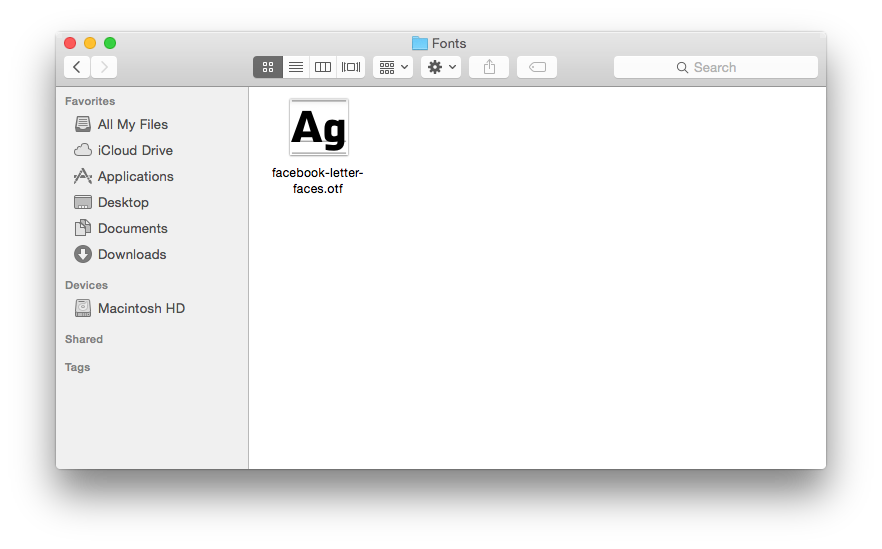
The second way would be to manually copy your font files to the /Users/"UserName"/Library/Fonts/ directory. This option works only for the particular user and not whole operating system.
Installing fonts to Font Library
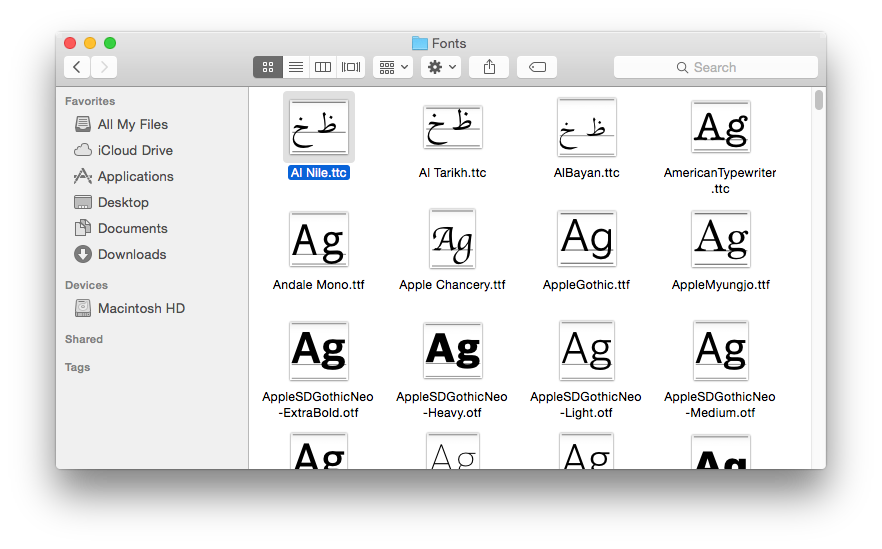
The third way is similar that second way, but you copy the font files to /Library/Fonts/ directory instead. Fonts installed this way will be accessible by every user account present in Mac.
Supported fonts in Mac OS X
Mac OS X mainly supports OpenType fonts (.otf) and TrueType fonts (.ttf), but you can use other fonts via special font manager apps.