
 Language
Related extensions:
![]() Virtual PC also known as Windows Virtual PC is popular virtualization application for Microsoft Windows operating system. It is available for free and it can also be pre-installed one some new Windows based systems and computers.
Virtual PC also known as Windows Virtual PC is popular virtualization application for Microsoft Windows operating system. It is available for free and it can also be pre-installed one some new Windows based systems and computers.
Virtual PC much like other Microsoft virtualization programs use VHD (Virtual Hard Disk) file format to store hard drives for virtual machines. Unfortunately, none of these programs cannot use other virtual disk formats, like very popular VMDK format used in VMware Workstation.
However, there exists a very easy to use virtual disk image converter called StarWind V2V, that facilitates you transition between VMware Workstation and Virtual PC machines. StarWind is a free (only registration required) disk image converter that is able to convert VMDK disks to VHD virtual disks and vice versa in a few easy steps.
Step 1 - Download and install StarWind V2V
Register your account on StarWind website, download the StarWind V2V installation package and install it. It is simple installation process without any special settings. All needed links and software associated to this article are at the bottom of this page. With this software you can convert VMDK to VHD and VHD to VMDK for free.
Step 2 - Convert VMDK to VHD
Before you attempt to convert your virtual hard drive, uninstall VMware Tools from host system and delete all system snapshots. This should prevent any possible unexpected errors or problems during the conversion process.
Once you start StarWind you will see that the whole conversion process is made through simple Wizard.
StarWind V2V image converter main window
Select the source *.vmdk file by click on (...) icon and click Next button.

StarWind V2V image converter select source file
Select output image format, in our case "MS Virtual PC growable image format", and click Next button.
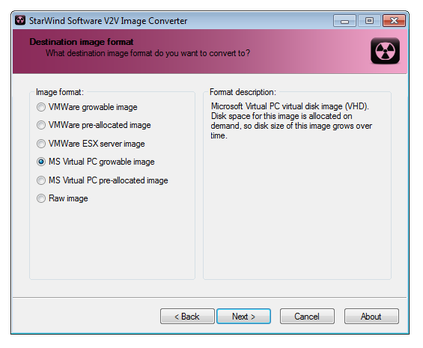
StarWind V2V image converter select destination format
After that you will see the conversion summary in next window. Click the Next button and wait until conversion is finished.
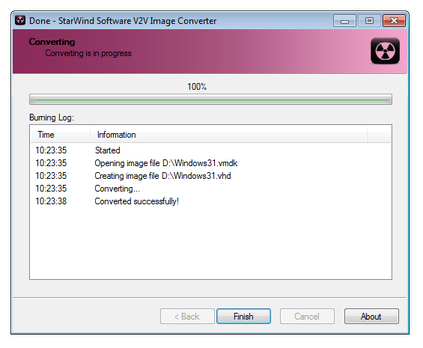
StarWind V2V image converter conversion successful
Step 3 - Create new Virtual PC virtual machine
Start Virtual PC. Click on New... button. Virtual PC will start Virtual Machine Wizard.
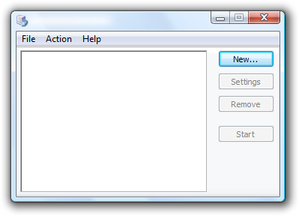
Microsoft Virtual PC console
Select Create a virtual machine option and click Next button.
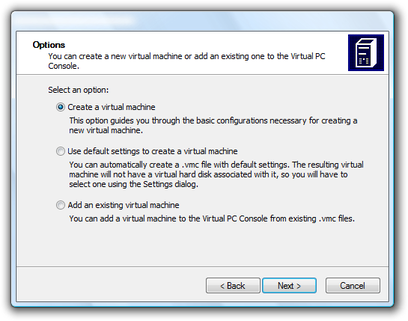
Virtual PC Wizard create new virtual machine
Set the new Virtual Machine Name and Location and click on Next button.
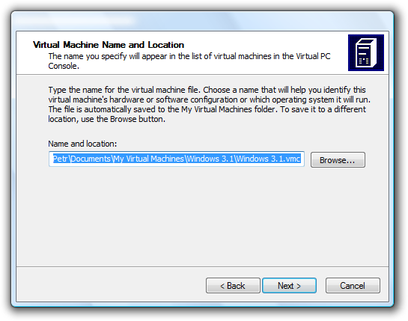
Virtual PC Wizard set location
Select the operating system. If it is not in the list, set OS type to Other and once again click on Next button.
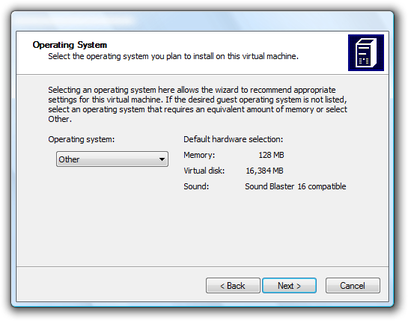
Virtual PC Wizard set operating system
In memory settings you can change the RAM memory size, so set optimal RAM size click on Next button.
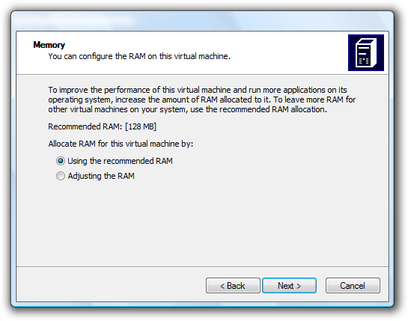
Virtual PC Wizard RAM memory settings
In virtual Hard Disk Options select an existing virtual hard disk option and proceed with Next button.
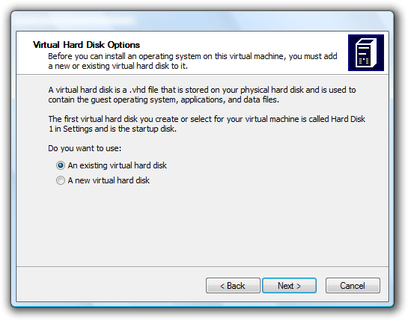
Virtual PC Wizard virtual hard disk settings
Click on Browse... button, select Virtual Hard Disk location and click Next button.
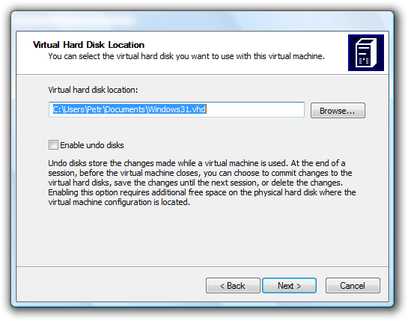
Virtual PC Wizard virtual hard disk location
Now you have your New Virtual PC Virtual machine ready. You can run it by double click on it in the Virtual PC console.
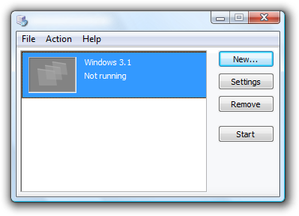
Virtual PC console with new virtual machine